I2C Port Expander for Robotics Use - Getting Started with the NXP PCAL6416A
What is it?
The NXP PCAL6416A is a 16-bit GPIO port expander with an I2C interface. One thing I like about it a lot is that it supports level shifting, making it easy to use 5V GPIO with a low voltage controller.
Why?
One of my projects is a water-based robot. I want to minimize the number of “hull penetrations” for sensors - especially for GPIO. I am definitely thinking of multiple LED lights at a minimum and I don’t want one penetration for each. I can put a single PCAL6416A in a potted box outside my pressure hull and get 16 GPIO for using only a few wires.
One of the other things I really want to do is see if I can run multiple HC-SR04 ultrasonic transducers on one of these things. The sensor is triggered by a 5V GPIO and then it generates a pulse on the echo pin. The duration of the pulse is the distance sensed.
A pack of 5 of these sensors are $10 on Amazon with Prime shipping included. A pentagon-shaped cluster of these sitting on the 16 GPIO pins of the PCAL6416A would make a handy I2C-based 360 degree proximit sensor.
Hardware
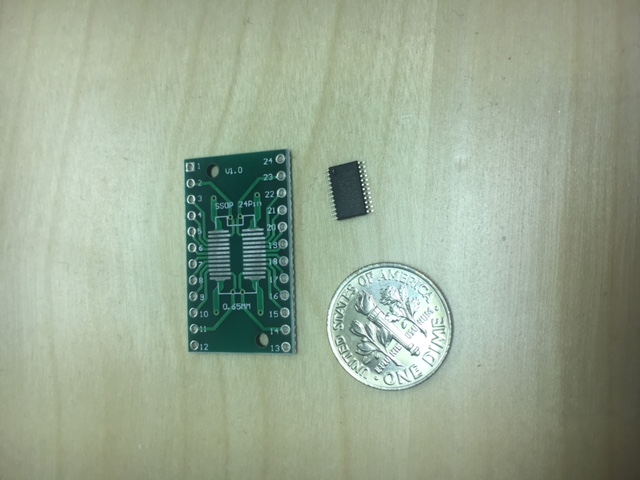
The chips are 24 pin TSSOP - yep, surface mount. DigiKey had them in stock (their site is down for maintenance at the moment so I don’t have a direct link). To make them easy to work with on a breadboard I bought some breakout boards. They all arrived today so it was off to the races. Here’s what the chip looks like:
Soldering
This was my first surface mount soldering effort. I could not have done it without the highpower stereo magnifier I bought at the Sunnyvale Electronics Flea Market a few months ago. I wet the pads and then cleaned them with solder wick, then used tweezers to position the part and hold it in place and then applied heat to each pad. It was slow going but it actually works.
Success
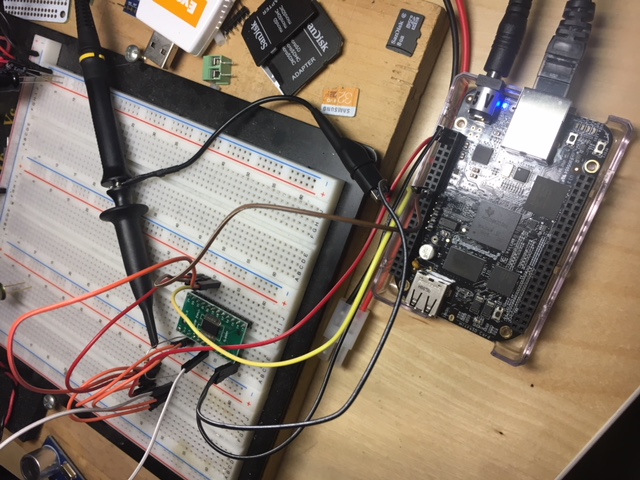
I wired up a BeagleBone Black to the breakout board and sure enough, the part is there:
debian@beaglebone:~/src$ i2cdetect -y -r 2
     0  1  2  3  4  5  6  7  8  9  a  b  c  d  e  f
00:          -- -- -- -- -- -- -- -- -- -- -- -- --
10: -- -- -- -- -- -- -- -- -- -- -- -- -- -- -- --
20: -- 21 -- -- -- -- -- -- -- -- -- -- -- -- -- --
30: -- -- -- -- -- -- -- -- -- -- -- -- -- -- -- --
40: -- -- -- -- -- -- -- -- -- -- -- -- -- -- -- --
50: -- -- -- -- UU UU UU UU -- -- -- -- -- -- -- --
60: -- -- -- -- -- -- -- -- -- -- -- -- -- -- -- --
70: -- -- -- -- -- -- -- --
Now it’s time to start playing with the registers to understand this part.


